WillhiteWeb.com

Elevation: 5,840 feet
Distance: Hard to determine
Elevation Gain: 5,000 feet
Road Access: Fair gravel road
Jumbo Mountain (Darrington)
Access:
In Darrington, find Darrington Street in the south blocks of town. Follow this road until it turns to gravel, then follow up until you do the S switchbacks (two turnpins). Continue on the road until it ends at a small parking area.
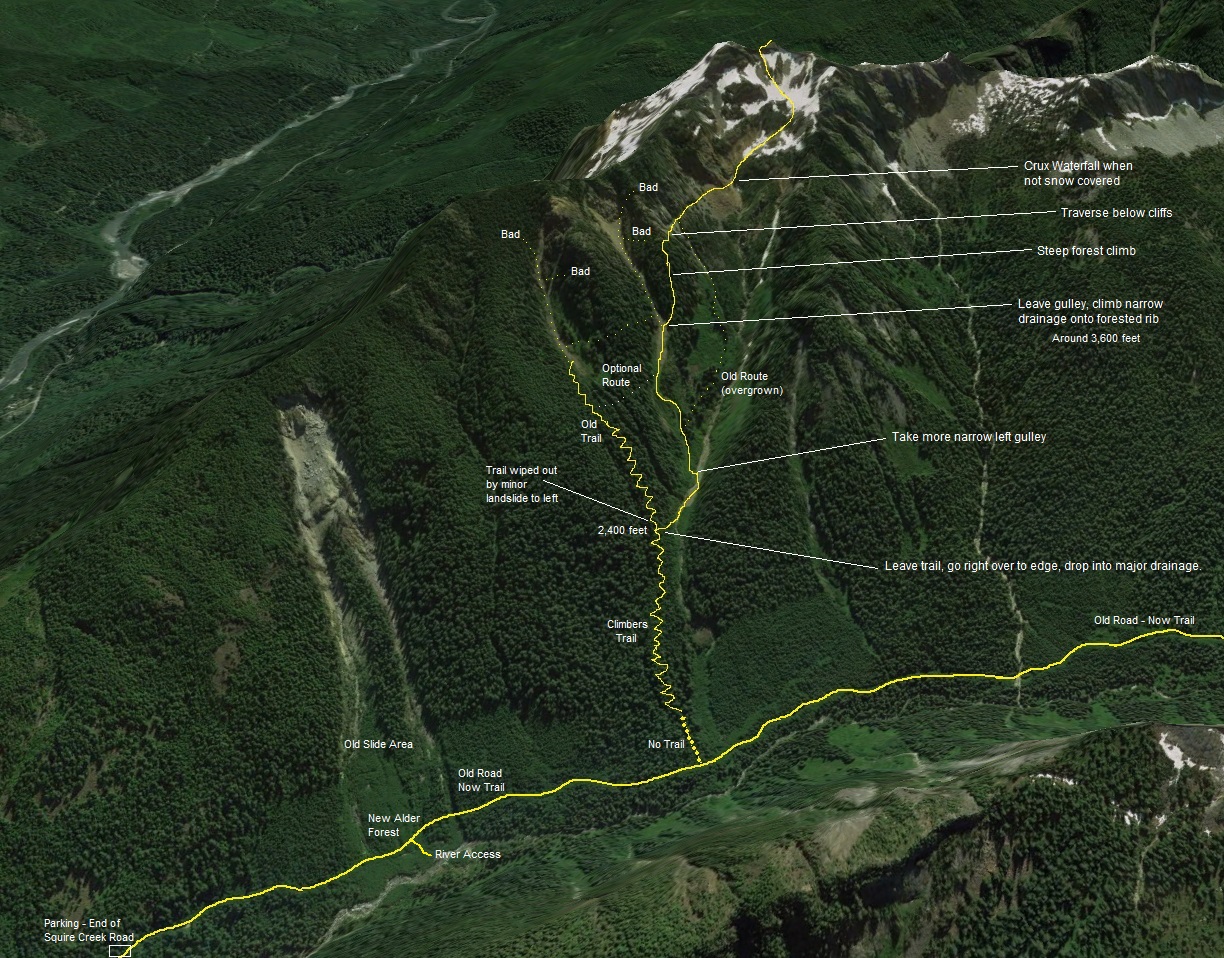
Read the 40-year-old summit register comments and you will find many who took three, four or even 6 attempts to reach the summit. For me, it was 4 attempts. With GPS tracks, this rough track record should diminish some. The best advise for people is do not underestimate Jumbo Mountain. It may not be high but it has beat up and tricked many climbers. Also, it seems a half dozen different route possibilities have been done. I have made a map with my knowledge and what I think would be best. Having some GPS tracks is probably smart, something I rarely say or suggest.
2002 landslide area in 2016
Start of Route:
Follow the trail for about 1.2 miles to a prominent creek bed with a large, exposed culvert. This stream is the main stream to follow up, but not too close. Walk back 200 feet.
Finding The Climbers Trail (The first 200 yards)
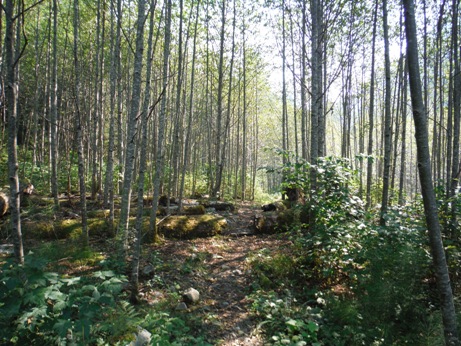
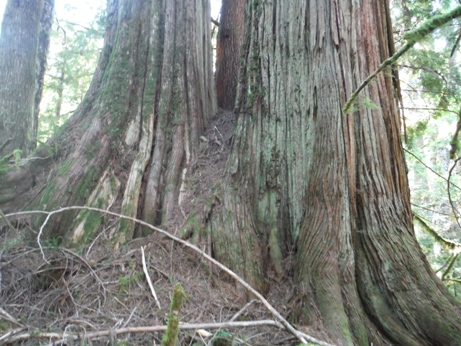
From the creek, go back about 200 feet and enter the woods into the most conifer looking area (basically avoiding the deciduous edge of the creek chocked full of brush). The goal here is to go several hundred feet through a low incline forest to find the trail, located where the hill starts getting steep. Just before it does get steep, look for two huge cedar trees with a shared base well above ground level. The trail starts above and left/north from these trees. After a short patch of blowdown hiding the trail, the hillside becomes steep and the trail appears. The trail is more overgrown every year but the tread fair. One person could do an amazing job saving this climbers trail in just a day or two of work.
On the Climbers Trail
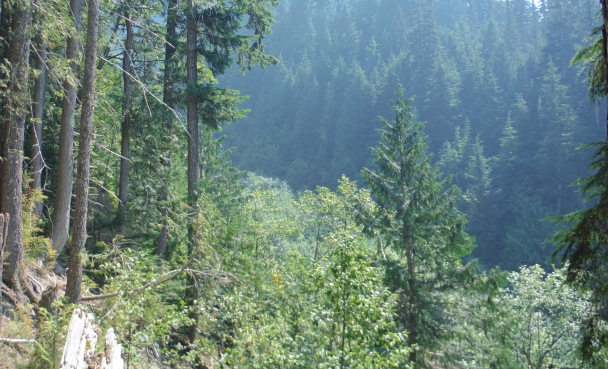
The forests are fairly open on the steep hill slope so you could do without the trail but you will save energy using the trail. The trail switchbacks uphill but never crosses a smaller wooded creek draw to your left. To your right, as you are climbing, at times you will sense a valley to your right. This is the key drainage you want but it appears to drop a long way down, like a deep valley. The trail never really drops into this drainage although many reports will suggest it does. At about 2,300 feet of elevation, the trail has slid in a landslide into the creek on the left. Many trees were involved too. Forget the trail (although it does continue up somewhere once past the landslide). This is the area to traverse the forest to the right and get to the edge of the forest where there is a drainage on your right. Keep scrambling up the forested edge of the ravine until there is an opening from a small slide, maybe around 2,425 feet (possible flagging on trees).
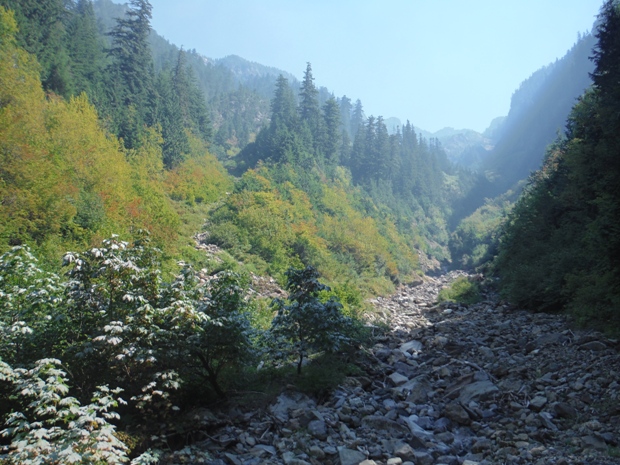
Now drop down into the canyon. In reality, the drop is only about 100 feet, but you can not tell from above due to leafy trees. You may hear the water down below. Once you reach the bottom, there is a nice open creek gully to follow. Hike up it a few hundred vertical feet to where the drainage splits at 2,600 feet (see image 1). A smaller gully comes down from your left, it is a bit narrower, brushier and steeper than the one you are in. Follow this left open gully to 3,600 feetish. (Ignore a trail cutting right out of the gulley at about 2,950 feet, it is the old route and totally overgrown now).
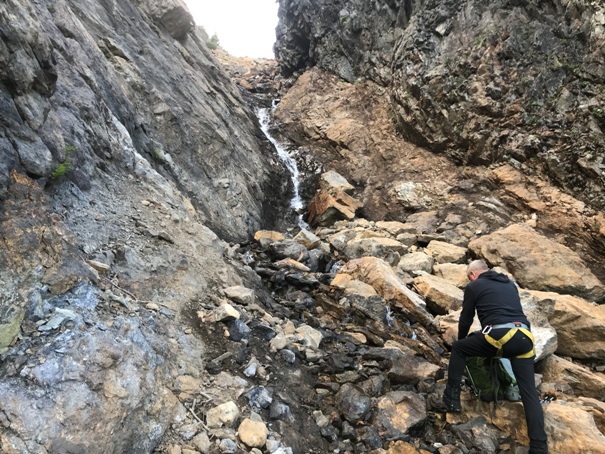
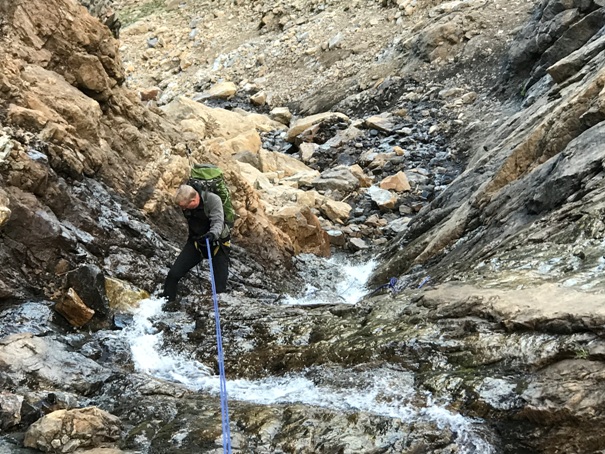
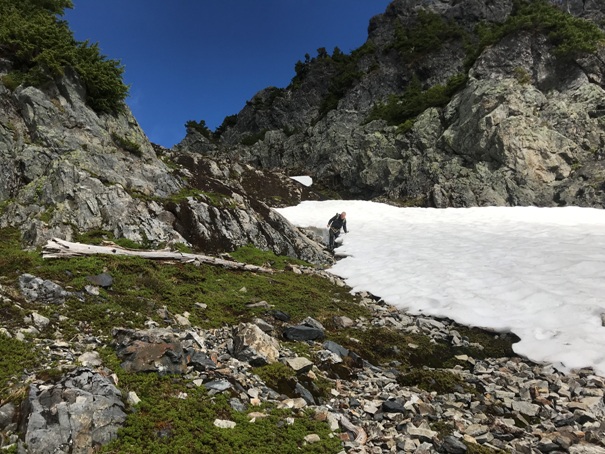
You need to leave the gulley at roughly 3,600 feet and get up onto the forested ridge on the right. A nice hidden creek drainage shoots up. Now climb steep forests, traversing right until you reach the cliffs at the top of the forest (4,300 feet). Traverse right below the cliffs, until you leave the forested section and are traversing more alpine terrain. The upper mountain will also become visible. Traverse until reaching the crux at 4,500 feet, a cut in the cliffs that grants access to the upper bowl of the mountain. The short steep section is class 4. If the snow is gone, most have used a rope to prevent slipping and falling into the falls. Places for protection are slim. On the way down, it was a 100-foot rappel from the closest anchor we could find and rocks in the creek are loose.
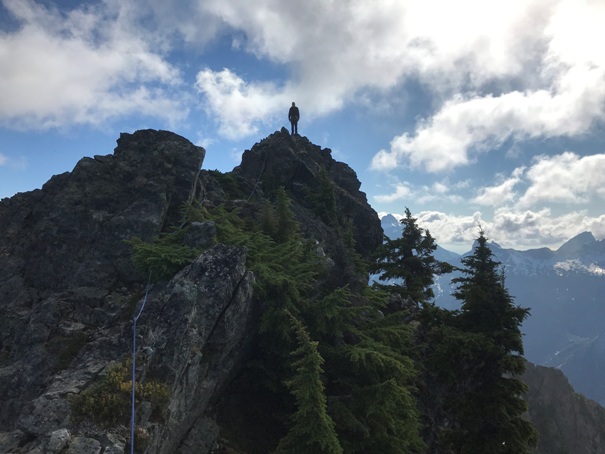
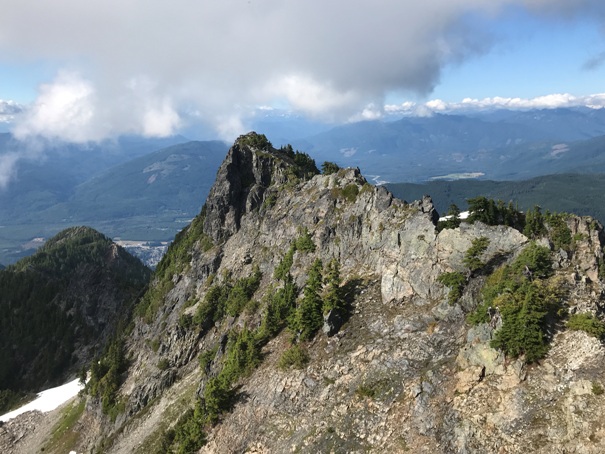
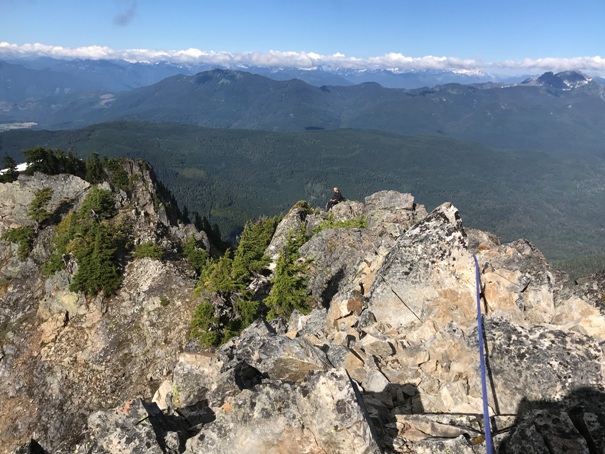
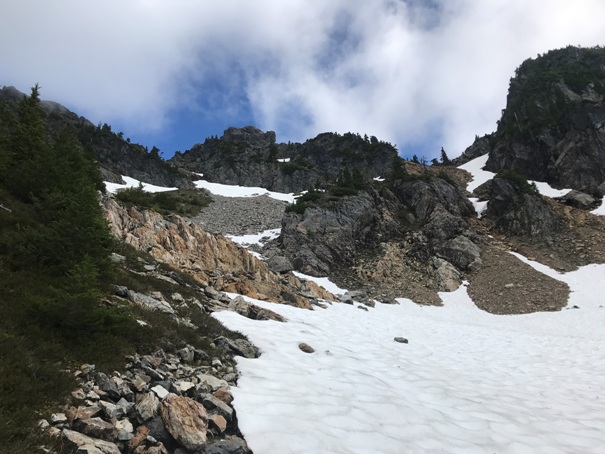
Once above, the upper basin is easy travel to the base of the summit. Three summits are visible, the middle highest summit looks like an elephant with big ears on each side. Find the saddle between the north and middle summit, climb to the saddle on steep snow or talus in summer. Finally, the north ridge of the summit block (the left ear) is a simple but exposed rock scramble up to the summit.
Climbers trail near these two cedar trees
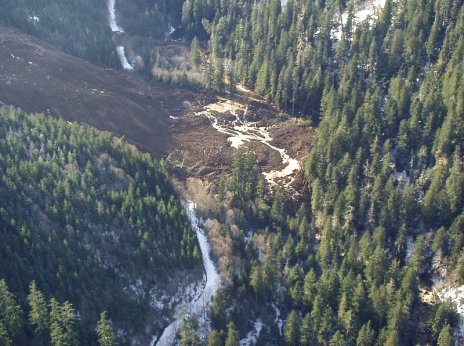
2002 landslide covering the road
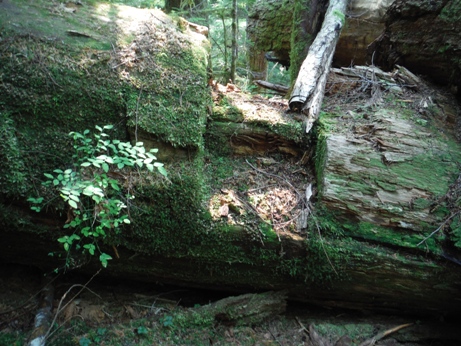
The overgrowing climbers trail starts on the other side of this
(image 1) The gulley split at 2,600 feet. Go left up the steeper one to roughly 3,600 feet
At around 2,400 about to drop into the drainage on right and enter first gulley
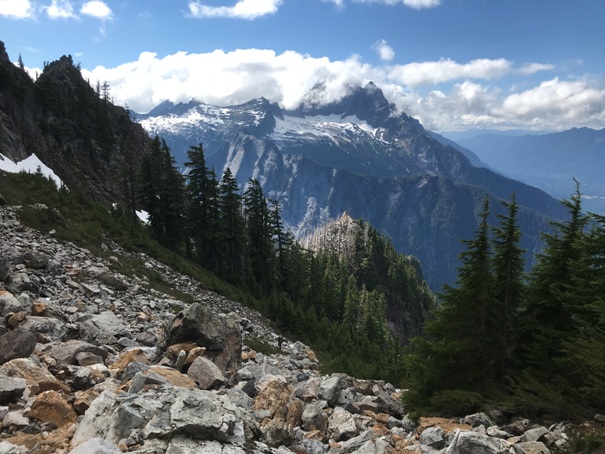
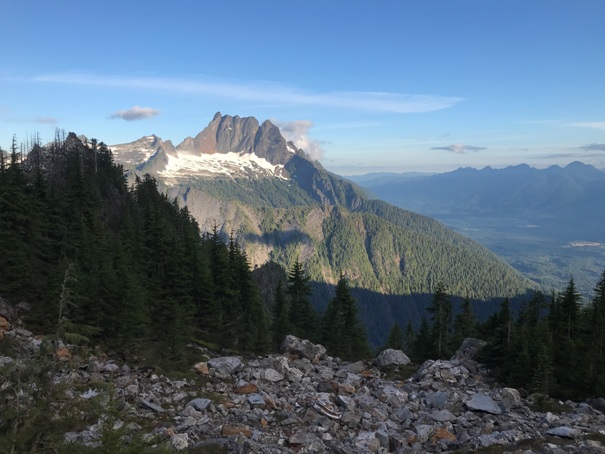
Whitehorse Mountain from our camp in the morning
Whitehorse Mountain
Whitehorse Mountain from upper bowl
In the mid-upper bowl, looking to the summit in the center
Nearing the col between north and middle summits
Loggers Island with Round Mountain in the center
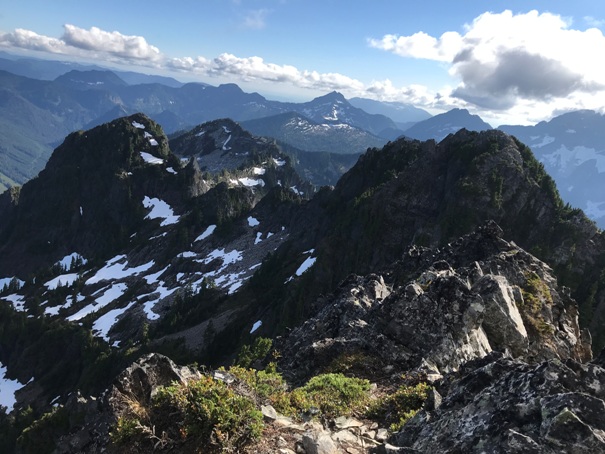
North summit
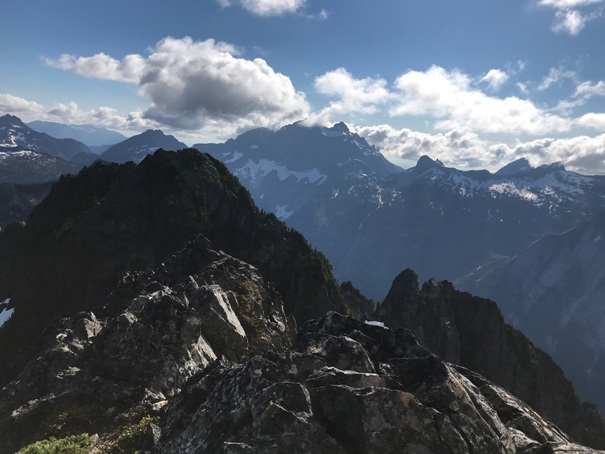
From the summit
On the summit
Looking SE
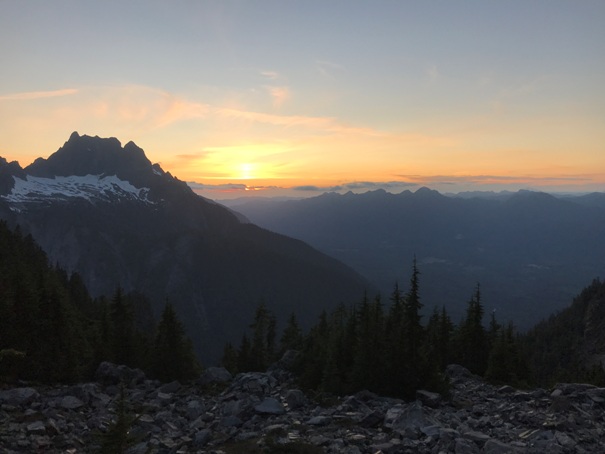
Sunset
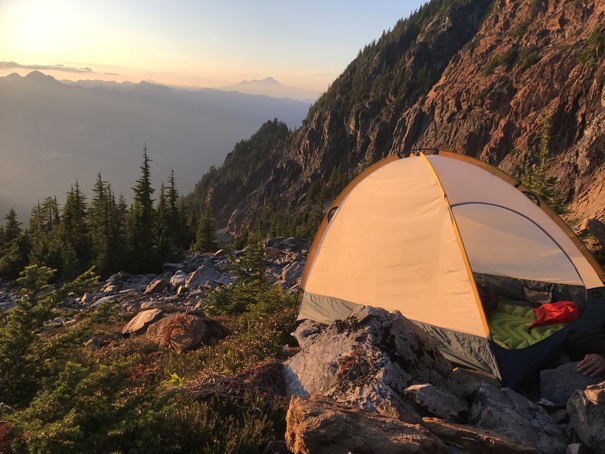
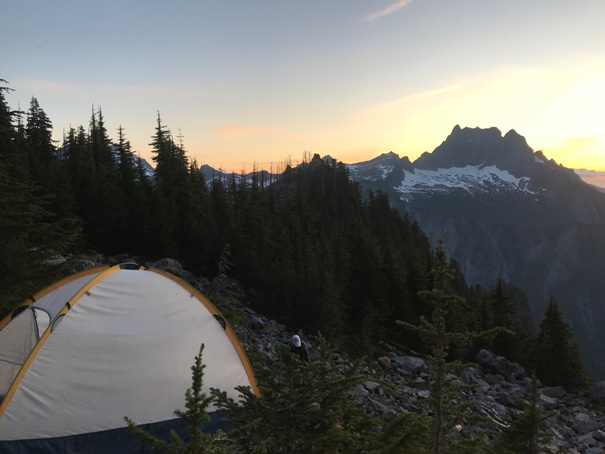
Camping on a flat rock, the only flat spot on the entire route
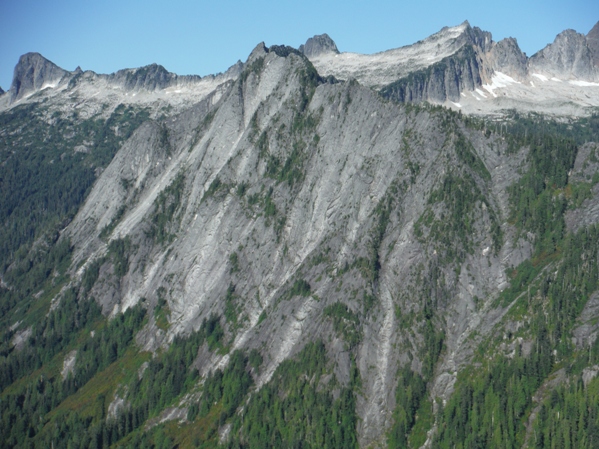
Squire Creek Wall
The cut with the waterfalls. The right side can be climbed (class 4)
Repelling down after the climb
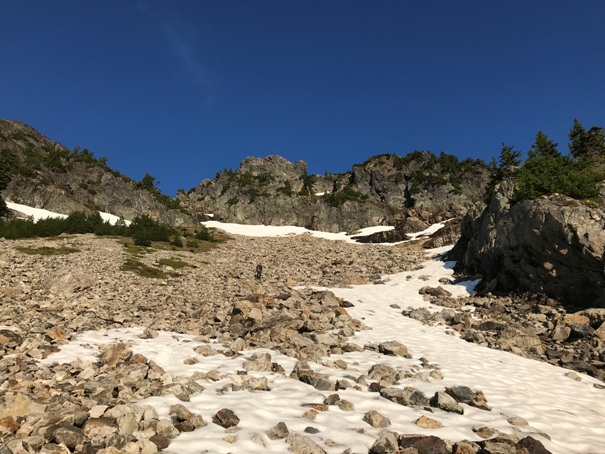
Final scree slope to the middle (highest) summit, in center of photo
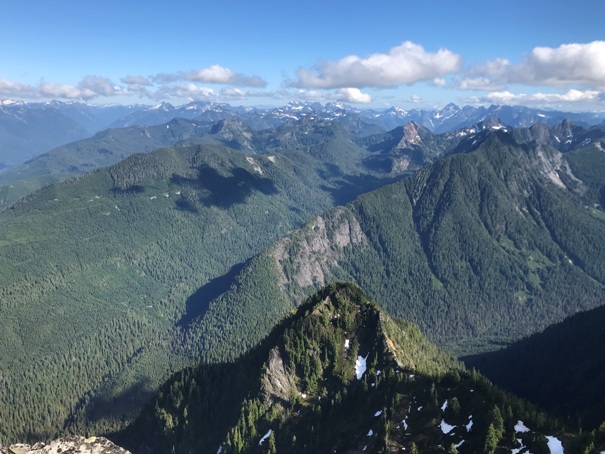
South summit in foreground, Three Fingers in distance
Looking South
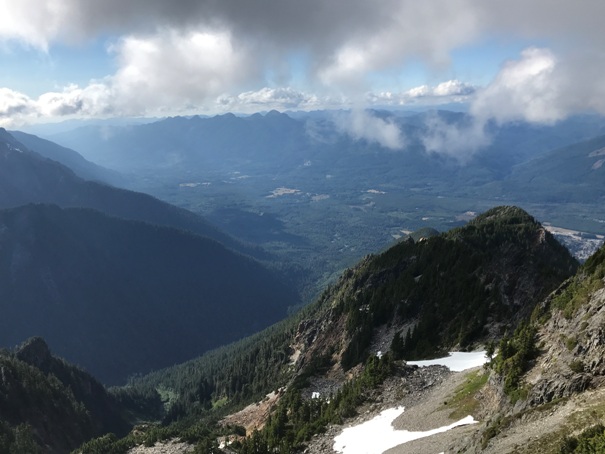
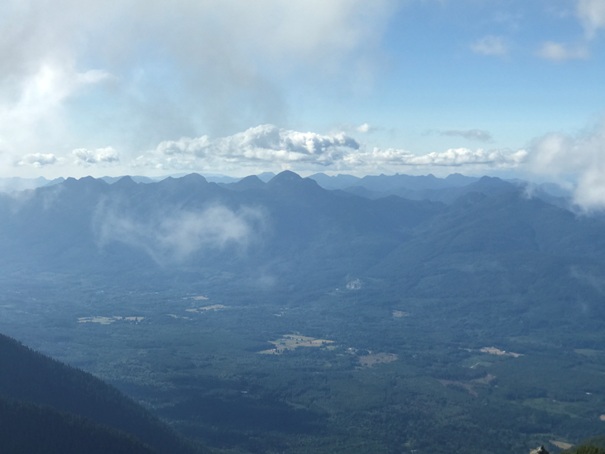
Looking down the North Ridge and out to the Stilliguamish Valley
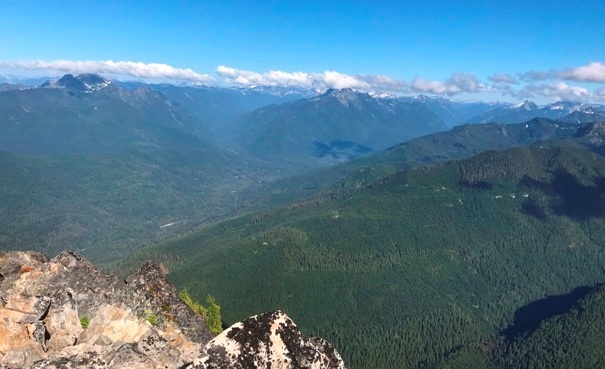
Sauk and North Fork Sauk River Valleys


