
Making Treasure Maps
Go to activity location days before, sketch a treasure map and where you plan to put the clues, and what the clues will be.
To Do Well Before Activity:
Youth Activities and Games
Hide the treasure and clues.
To Do Just Before the Activity:
Start activity showing an example treasure map. Have them go outside and find the treasures with map and first clue.
After they return with the treasure, prepare for them to make their own maps. Hand out pieces of paper for them to sketch a map. Hand out the treasure map symbol sheets and compass examples. Discuss where to put things on a map. If desired, hand the youth a treasure to hide outside for the adults to find when they have finished their maps.
The Activity:
Pencils
Grocery Store Paper Bags
Sharpies
Rulers
Bucket of Water
Tarps
Hair Dryers
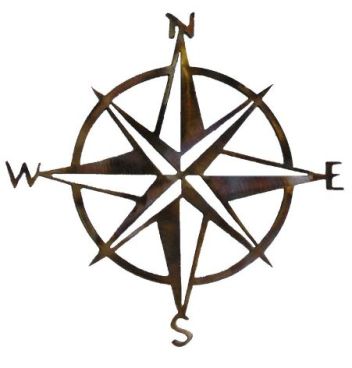
Examples of compass, treasure map symbols
White Paper for sketching
Lighter
Twine and scissors
3 Jars or something to hold the treasure and clues.
Items Needed:
1) Find a section of bag with no writing.
2) Tear new edges, do not tear at the seam.
3) Use a pencil, then a sharpe. Draw features.
4) Burn a hole, maybe some edges.
5) Crumple it up 3 times.
6) Get it wet 2-3 times.
7) Use hair drier to dry it.
Making the Treasure Maps:
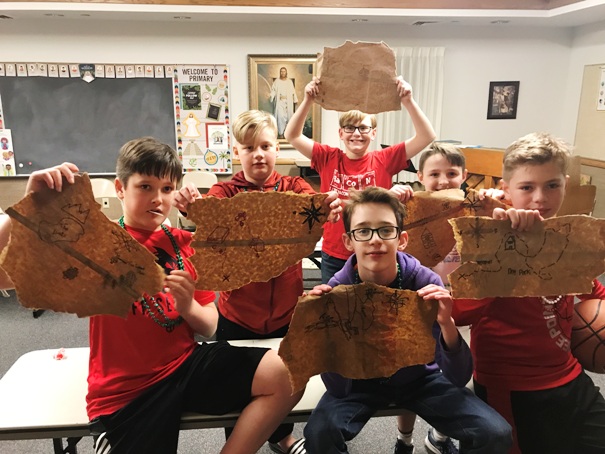
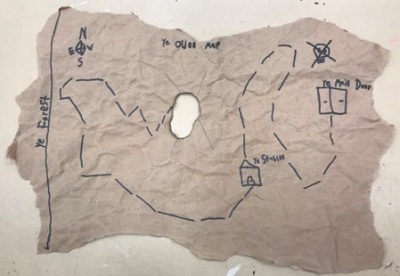
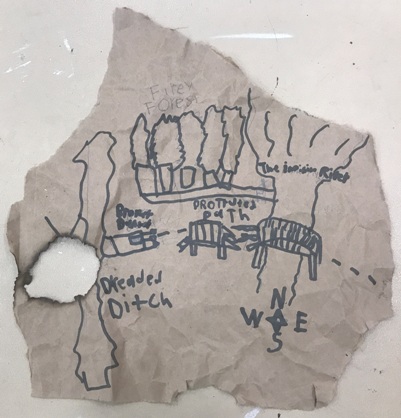
Showing their teasure maps
Every map needs a compass so print this for use as an example
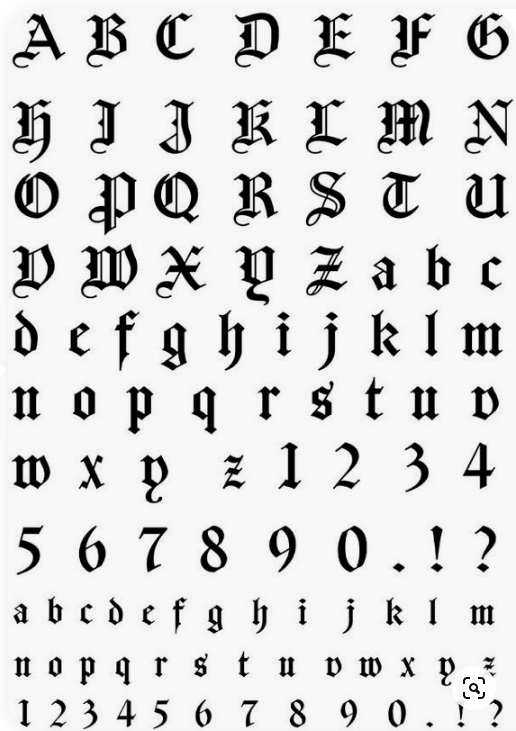
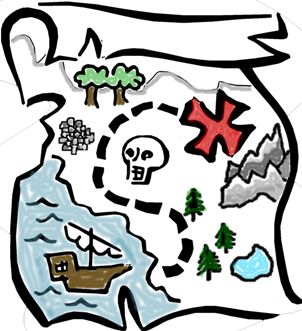
Print this for a visual of letters and numbers they can use.
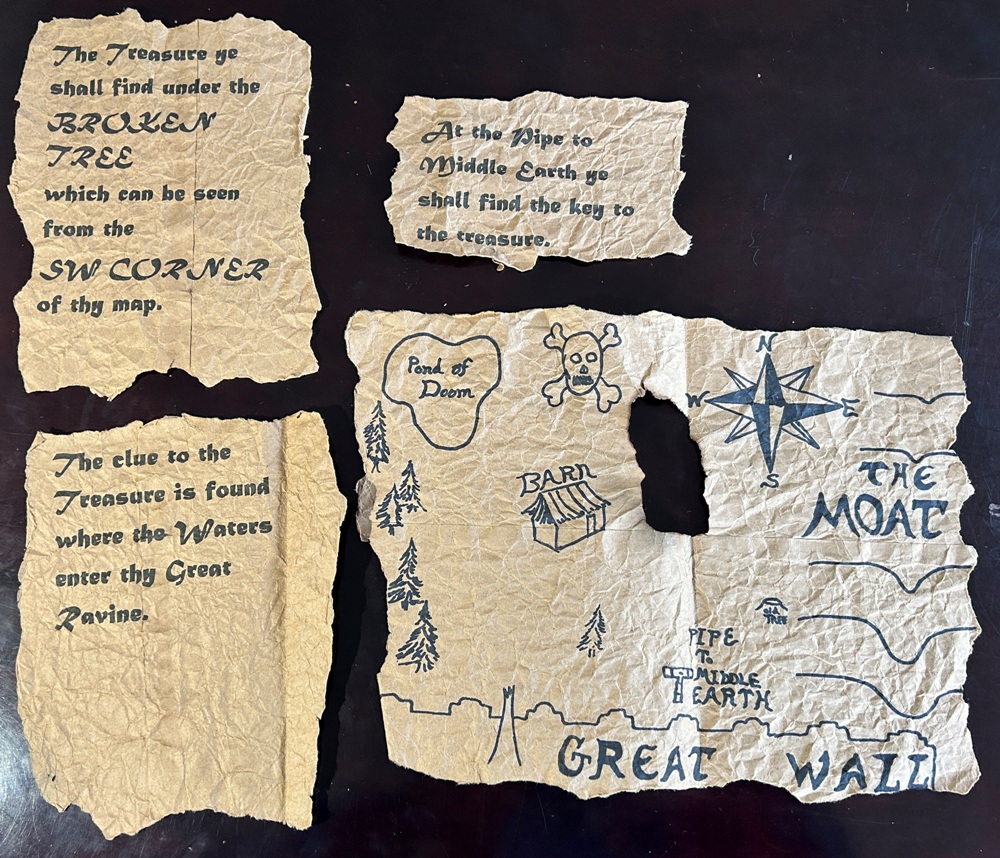
These are the clues and map I made prior to the activity for the youth to go outside and find the treasure I hid.
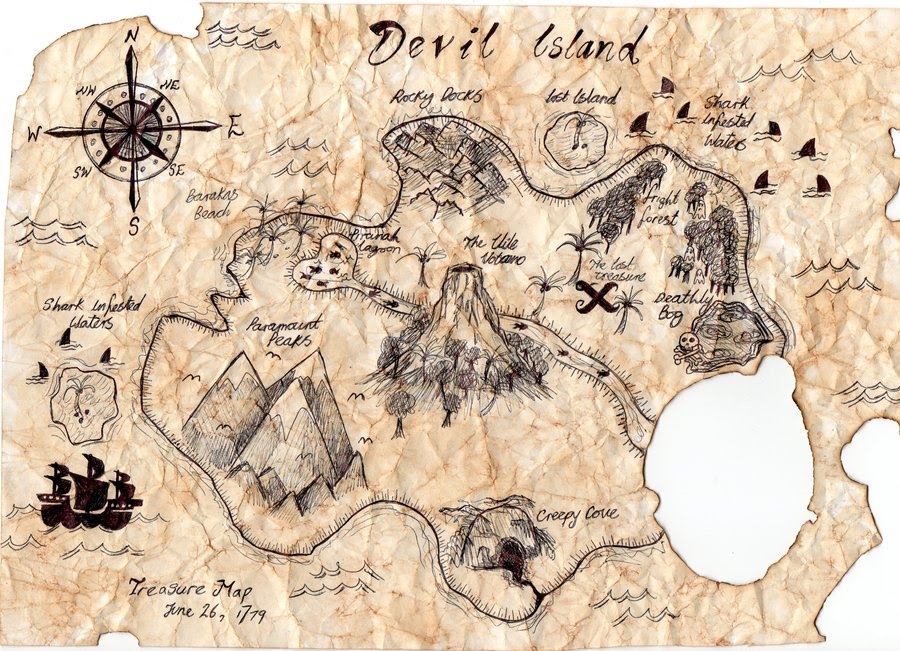
Nice example I found online if your youth are artistic.
More realistic examples of what the youth produce given skill and time allowed in one hour for everything.


